Having a budget set up doesn’t mean you have to give up your podcast. Here are some easy ways to improve your sound.
In a previous blog, I talked about 10 budget ways to improve your podcast sound, looking mostly at the basic, physical process of recording and what you could do in your room. But there’s only so much reverb, reflections, and noise that you can (cheaply) keep from your mic. The next step then, is to ask what you can do on the computer to at last bring your podcast recording up to professional perfection.
Here I’ll assume you took my advice in that previous blog. You’re limiting outside sounds as much as you can, turned off the coffee maker, unplugged the refrigerator, moved the couch, got out of the corner/installed bass traps, and put some curtains over your windows. After getting all that done, we’re ready to see what magic we can work on the computer.
It’s important to note though that what you do in your set up can drastically ease your editing process. And some sounds are impossible to edit out as well—a groaning and whining air conditioner, for instance, may slice through the entire range of audible frequencies, meaning that editing it out would also edit out your voice.
EQ your podcast
The first piece of advice would be to use an EQ (equalizer). An EQ boosts certain frequencies and tames or cuts other frequencies. If you’re using a sound board, then this is a pretty straight forward process. You can tweak the setting physically. Some USB mics have programs that allow you to do this, or you can use it in the post-production process on your DAW.
If you have a very low and boomy voice, decreasing the lower frequencies can help lift it up. If your voice is too shrill, taming the top can help you there. To get just the right EQ for your voice and your podcast takes a bit of trial and error, but once you find the right setting you can save it and always use it.

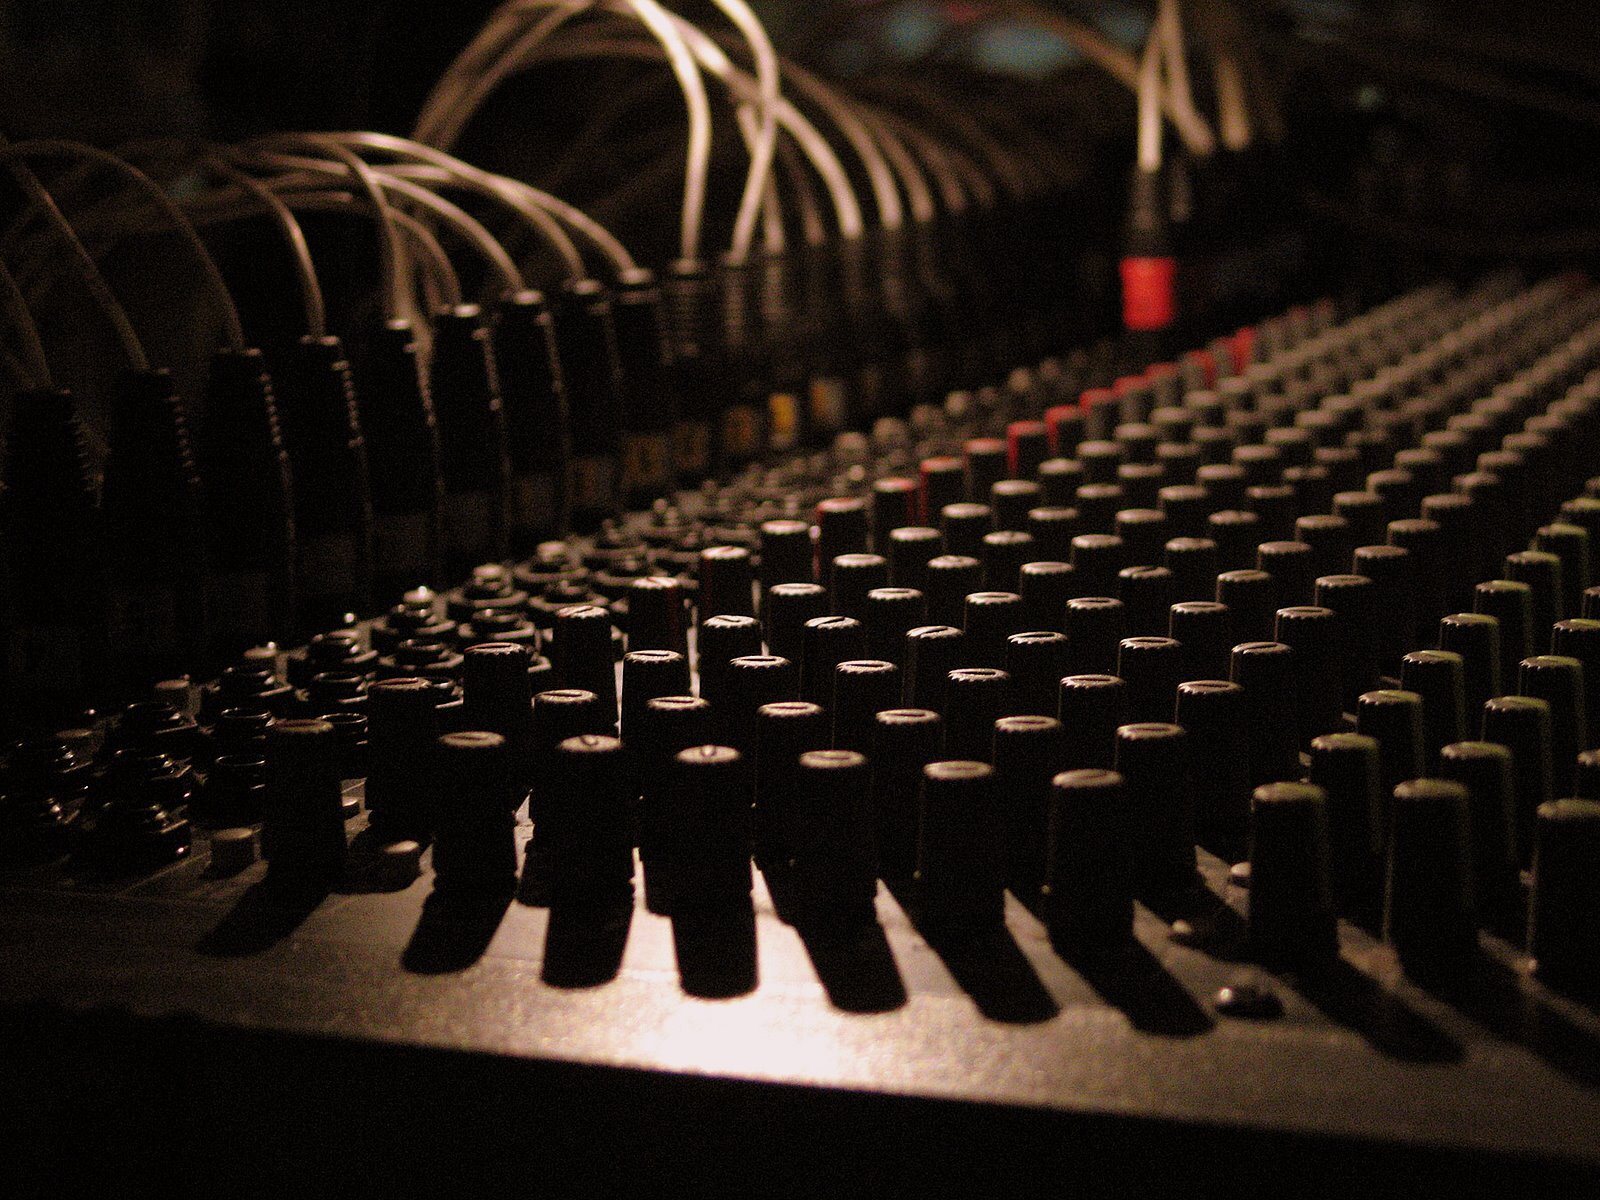
EQ knobs on a mixing board
Add some compression
The next important technique to keep in mind is compression. Typically these are applied in your DAW, though if you are using a sound board, it might be an included setting. A compressor “sausagifies” your audio, meaning that it brings up softer sounds and lowers loud sounds.
This can be helpful especially if you use a lot of expression in your voice and are constantly changing volume. The emotion of your voice will be preserved, but the volume will remain the same. Similarly if you have one or more guests and you don’t want their voices at different volumes, a compressor is a good tool.
To make sure ambient sounds aren’t amplified, many compressors include a “noisefloor” setting, which ensures that anything under that volume won’t be affected. Another way to prevent this is to place a Noise Gate (see later) in the effects chain.
Other settings to keep in mind here are the threshold and ratio. The threshold tells your compressor when to activate, the noisefloor tells it to not compress the audio under a certain volume, and the ratio tells it how much compression to apply. Read our blog on compression for more info.
De-essing (it’s in the name)
A de-esser reduces the sibilance in your voice. Sibilance refers to the s, f, x, and ch sounds. That is, anything that can have an s sound. So a de-esser is something that eliminates the ess sounds. It’s in the name.
There are several ways to de-ess your podcast audio. The first and best answer is to use proper mic technique (see below). But since no one is perfect, let’s figure out some other ways.
You can go about it manually, making cuts every time there’s an aggressive ess and then reducing that volume. If your podcast is longer than a minute though, this can turn into an arduous task. Or you can automate the process in your DAW using a plugin. You can do this both with a de-esser plugin, or using a dynamic EQ and placing it to activate where your hard esses typically land.
Noise gate your podcast
It’s of my opinion—and not only my opinion—that no podcast should go without a noise gate. A noise gate can be a pedal or a DAW effect. When applied, it reads the audio and cuts anything under a certain threshold (something opposite of a compressor). When you apply a noise gate, it should be before the compressor on your effects chain.
Read more about using a noise gate on our blog.
Filter LP/HP/BP
A filter is basically a simpler and harsher EQ. You’ll see those three acronyms a lot. I’m not saying to necessarily use them on your podcast audio, but just that they’re there if you need them.
LPF – Low Pass Filter. A Low Pass Filter allows all lower frequencies to pass through it, while cutting off the upper frequencies. Especially good to cut out those screeching teapot sounds you might have in the background of your coffee shop podcast.
HPF – High Pass Filter. A High Pass Filter allows all higher frequencies to pass through while cutting off the lower frequencies. Especially good for cutting off the lower rumbling of an earthquake or coffee grinder (both very important for California residents).
BPF – Band Pass Filter. A Band Pass Filter allows frequencies within a set band to pass through, while cutting off everything above and below.
Of course, how harsh each filter is can be set, changed, and automated.
Know your mic
As I wrote earlier, mic discipline can make your editing job a lot easier. Don’t look to the rock stars in how to use a mic. They’re often kissing the mic and abusing it, making the sound engineer’s job a heck of a bad experience. Instead look at professional YouTubers. They often have the mic some distance ahead of them and to the side.
That’s the best position. 45 degrees off access, with enough room for a couple of fists. If you’re using a sound board, adjust the gain to suit. Same with a USB mic, use their software suite to raise the gain as needed. Having a good mic position can prevent a lot of lip smacking and slurring sounds, so that you might not even need to edit them out.

Don’t do what she’s doing to your mic
Test record and check settings
This should go without saying. Each time you add one of these effects, test it out. Record yourself, listen to yourself, trust your ears. And here I’d advise on a good set of headphones over studio monitors. Unless you want to spend a lot of money on monitors and room treatment, a pricey set of cans will get you a lot further.
And don’t just set it and leave it. Constantly be monitoring your own work. Does something sound off? Can it be tweaked? Save your settings, tweak and see if that helps. Rinse and repeat.
Add music to your podcast
One of the top ways to improve your audio doesn’t necessarily affect the quality of your recorded sound. But rather the other sounds you put on top. Be sure to add music and sound effects to draw your listeners in and control their attention and mood as they remain raptured to your project. Smartsound Cloud has thousands of original tracks and sound effects which can be edited at the touch of a mouse. Change the length of the music track to your needs and watch how the music “rewrites” itself to fit; adjust the volume of the different instruments to encapsulate the exact mood you need.
Tips:
- Mixing tools – There are many mixing plugins, like Izotope’s Neutron or Steinberg’s WaveLab, that contain all these tools in an easy to use format.
- Spectral editors – For even more advanced control and precision in cleaning up your sound files, consider looking into spectral editors like Izotope’s RX or Steinberg’s Spectralayers Pro.
Whatever you do, it’s your show and your sound, and you shouldn’t forget that. Trust your editing to your ears and don’t be afraid to experiment. Soon you’ll get the sound that’s right for you.


