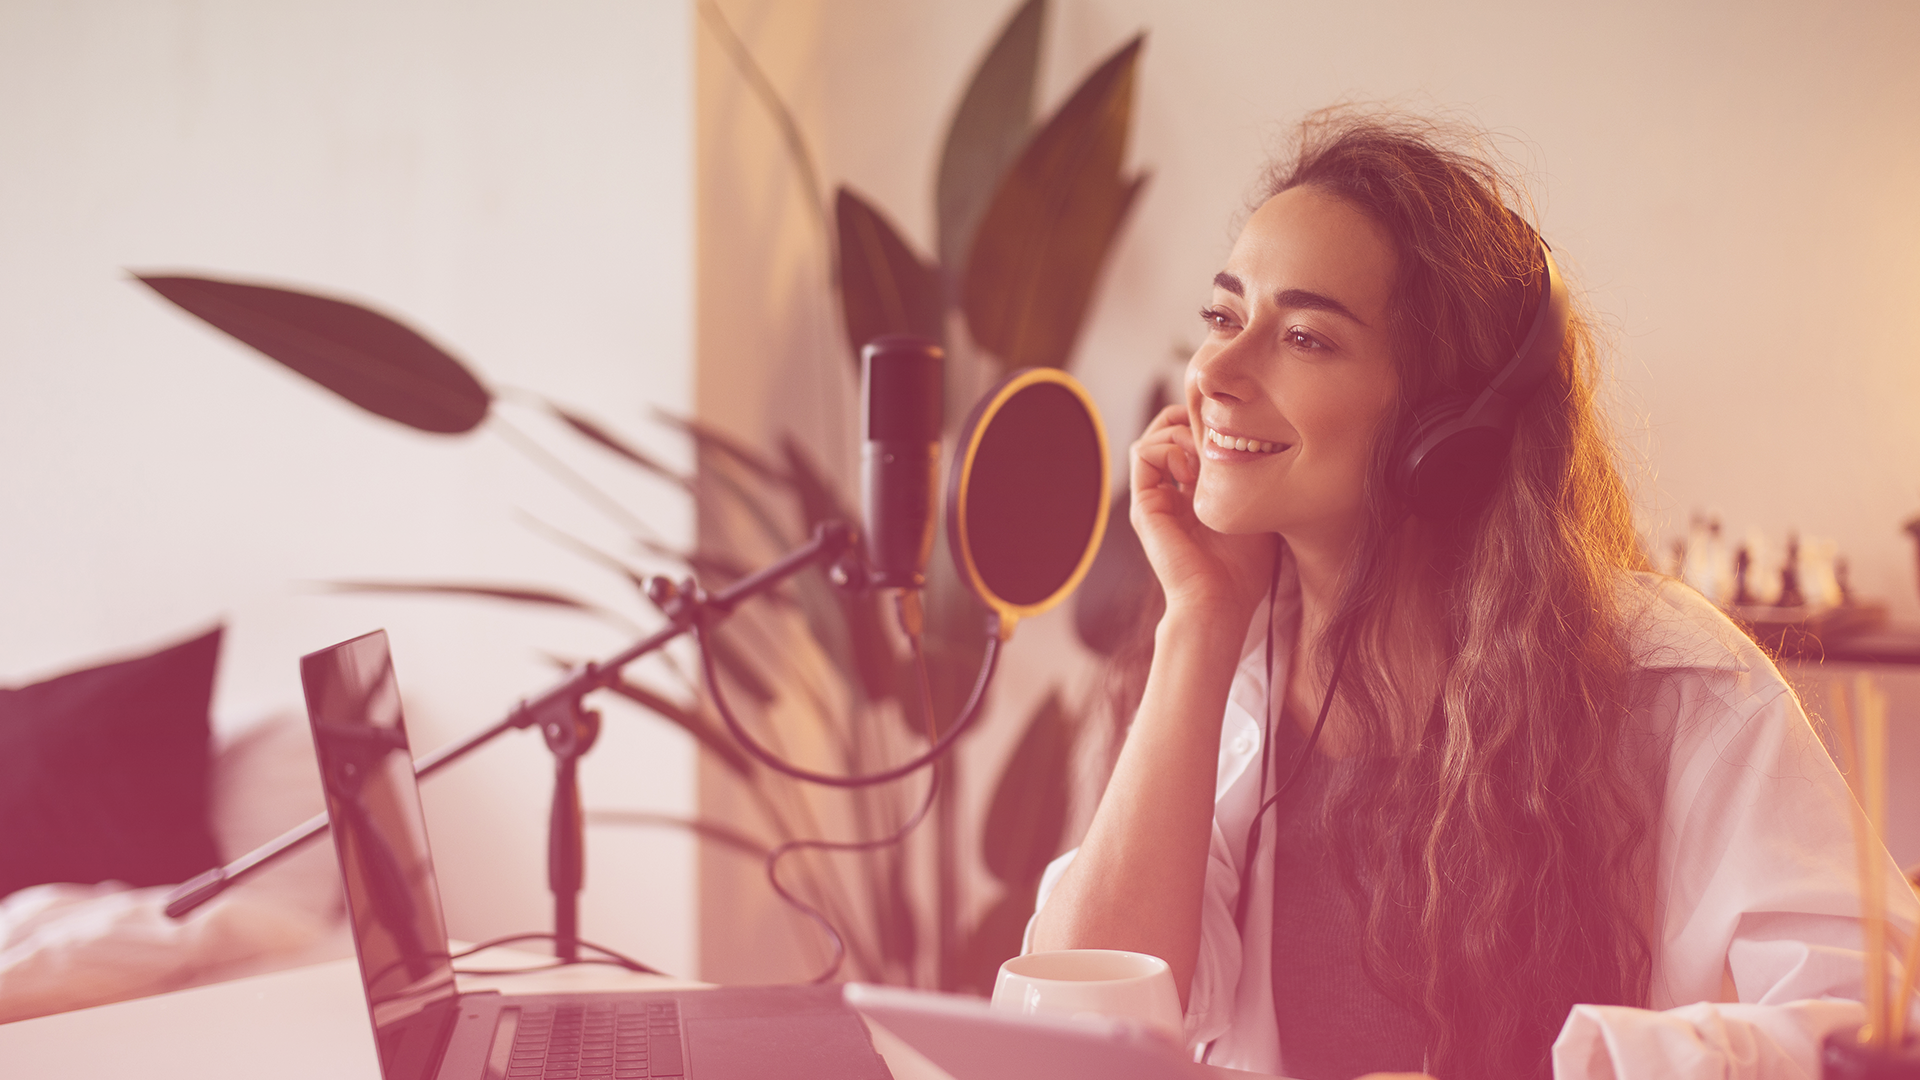
Sound quality is the most important part of a podcast. Do you have your setup right?
Trolling podcasting groups on Reddit and Facebook, I’ll often come across people worried about their podcast’s sound quality. And they’re right to do so: People will stop listening if the sound quality is too poor. There is a certain tolerance since people do understand the difficulties of recording a podcast at home. But it’s not a high tolerance. I read testimonials time and time again from podcasters who themselves say they have little tolerance for the poor sound quality of other shows.
Of course, it should go without saying. The only method that your product comes across is audio, so that audio needs to be clear, lively, and preferably with catchy and original music (which Smartsound can provide).
In this two-part blog, I’m going to go through 2 aspects of improving your podcast’s sound. First, in this issue, we’ll discuss how to get a better sound at your home setup. Second, what you can do to improve your sound electronically after and during recording.
If you’re looking to start a podcast, you should start here with our blog.
Setting up for a podcast
This article is for recording your podcast on a budget. If you’ve got a huge budget and a huge house, then you probably know what to do: Order a bunch of expensive kits from Amazon and build your own sound room. But what if you’ve got to piece-meal it? What if you live in a flat with other people? What are some other ideas you can do to approach this with budget and space issues? It’s not impossible to do.
You need obviously a quiet place, a decent mic (read our blog on understanding mics), something to record, and an interesting subject. Let’s look at how you can make that quiet place.
About sound
The biggest issue to resolve isn’t necessarily sound from the outside. You might have a reasonably quiet house, and as long as your washing machine isn’t going on ludicrous speed, it might be fine. The biggest, sneakiest threat for recording your podcast are sound reflections, or what we call reverb.
Imagine sound like a game of billiards. When you speak, it’s not just going forward, the sound eventually hits the wall and bounces to another direction, until it hits something else and so on. The mic can pick up these reflections a multitude of times, leading to a bit of sonic chaos in your recording. It can cause actual echoes, to a tinny sound, to a sound drowning in bass, to anything in-between.
Pad that room
So the logic then follows that if sounds bounce everywhere, you want to stop that bouncing. How? Pad everything, or make everything have funny angles so the sound doesn’t bounce back towards your mic. Some easy home remedies so your home still looks like a home and not a recording studio?
- Cover your windows with thick curtains
- Move your couch so it’s behind you
- Carpets and tapestries
- Hang blankets on your walls (and you can remove them when you’re not recording)
- Put some blankets on trolleys and surround your desk (and you can remove then when you’re not recording)
Avoid or treat corners
Is your recording set up in the corner of your living room or bedroom? Corners are acoustically dangerous places. They’ll trap the lower frequencies and make your recording sound boomy. But maybe you don’t have the space to move away from that corner?
Make a bass trap.
On the low budget end, you can make a wood A-frame with an acoustically transparent fabric (a cloth that sound can move through). Hold it up to your mouth and breathe in. If you think you could use it for a covid mask, then it’s good stuff. Multiple layers of different materials are good, and the deeper the better. Let the bass get trapped in there and not trapped in your recording.
Lots of hard surfaces, in a corner, I’m sure you know what I’m going to say about this…
Ideally you’d want a bass trap in every corner. Realistically at home, that might not be possible. So have one in the corner where your desk is. At best it would be from floor to ceiling. At minimum for the same level as your mic and head position. Of course, if you’re far enough away from a corner, then you might not need it. Or you can try to curb the lower frequencies on your mixer (see more about mixers on our blog).
If this still sounds like too much, then the real budget way would be to stick a piece of furniture there, or put some curtains in there. Anything can help, it just takes some experimenting. But if you’re consistently getting boomy reverb, and you’ve already found a good mic position, this could be your problem.
Choose your room wisely
Of course, not everyone has the luxury of choosing the room they want. But the best room would be one that has some of the aspects above. One of the fluffiest rooms in the house is perhaps your bedroom. That bed will catch and deaden a lot of sound. Somewhere with enough room to get out of a corner. A large closet with lots of clothes might be good – though just use it for recording and not for your main editing, as you’ll get claustrophobic.
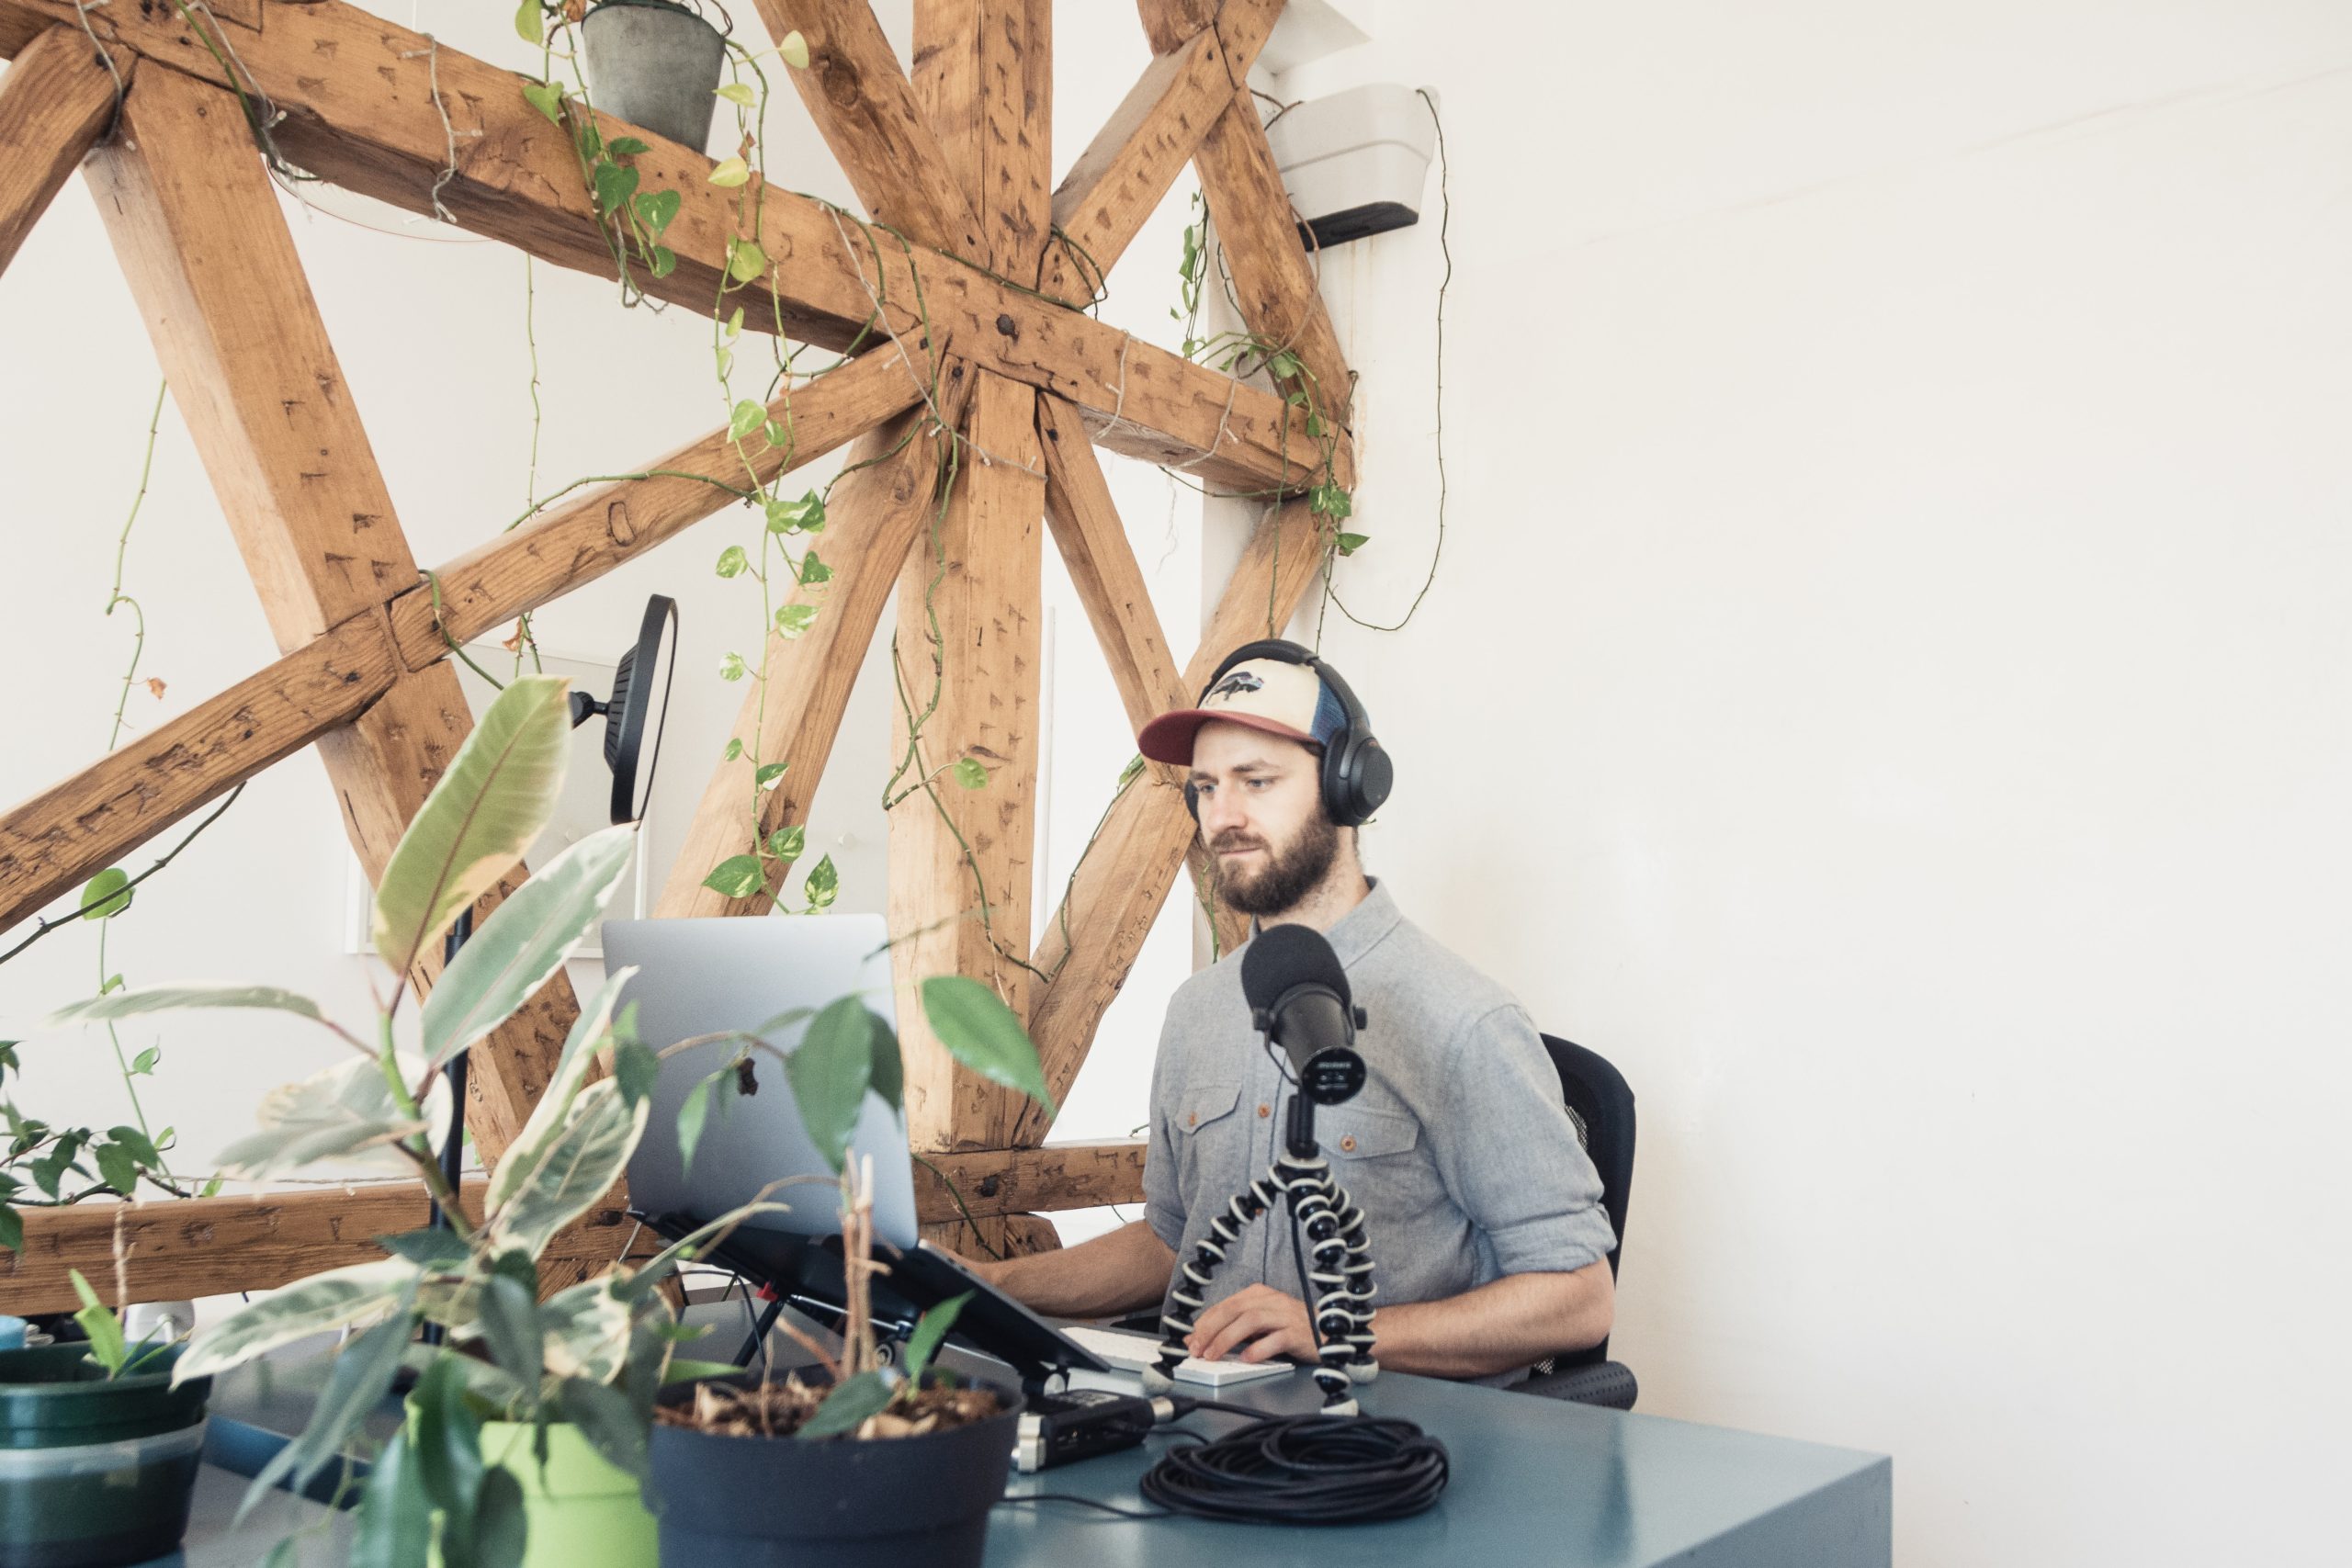
Might be good – facing away from the wall, and that wood structure would diffuse sound
Make a separate recording space
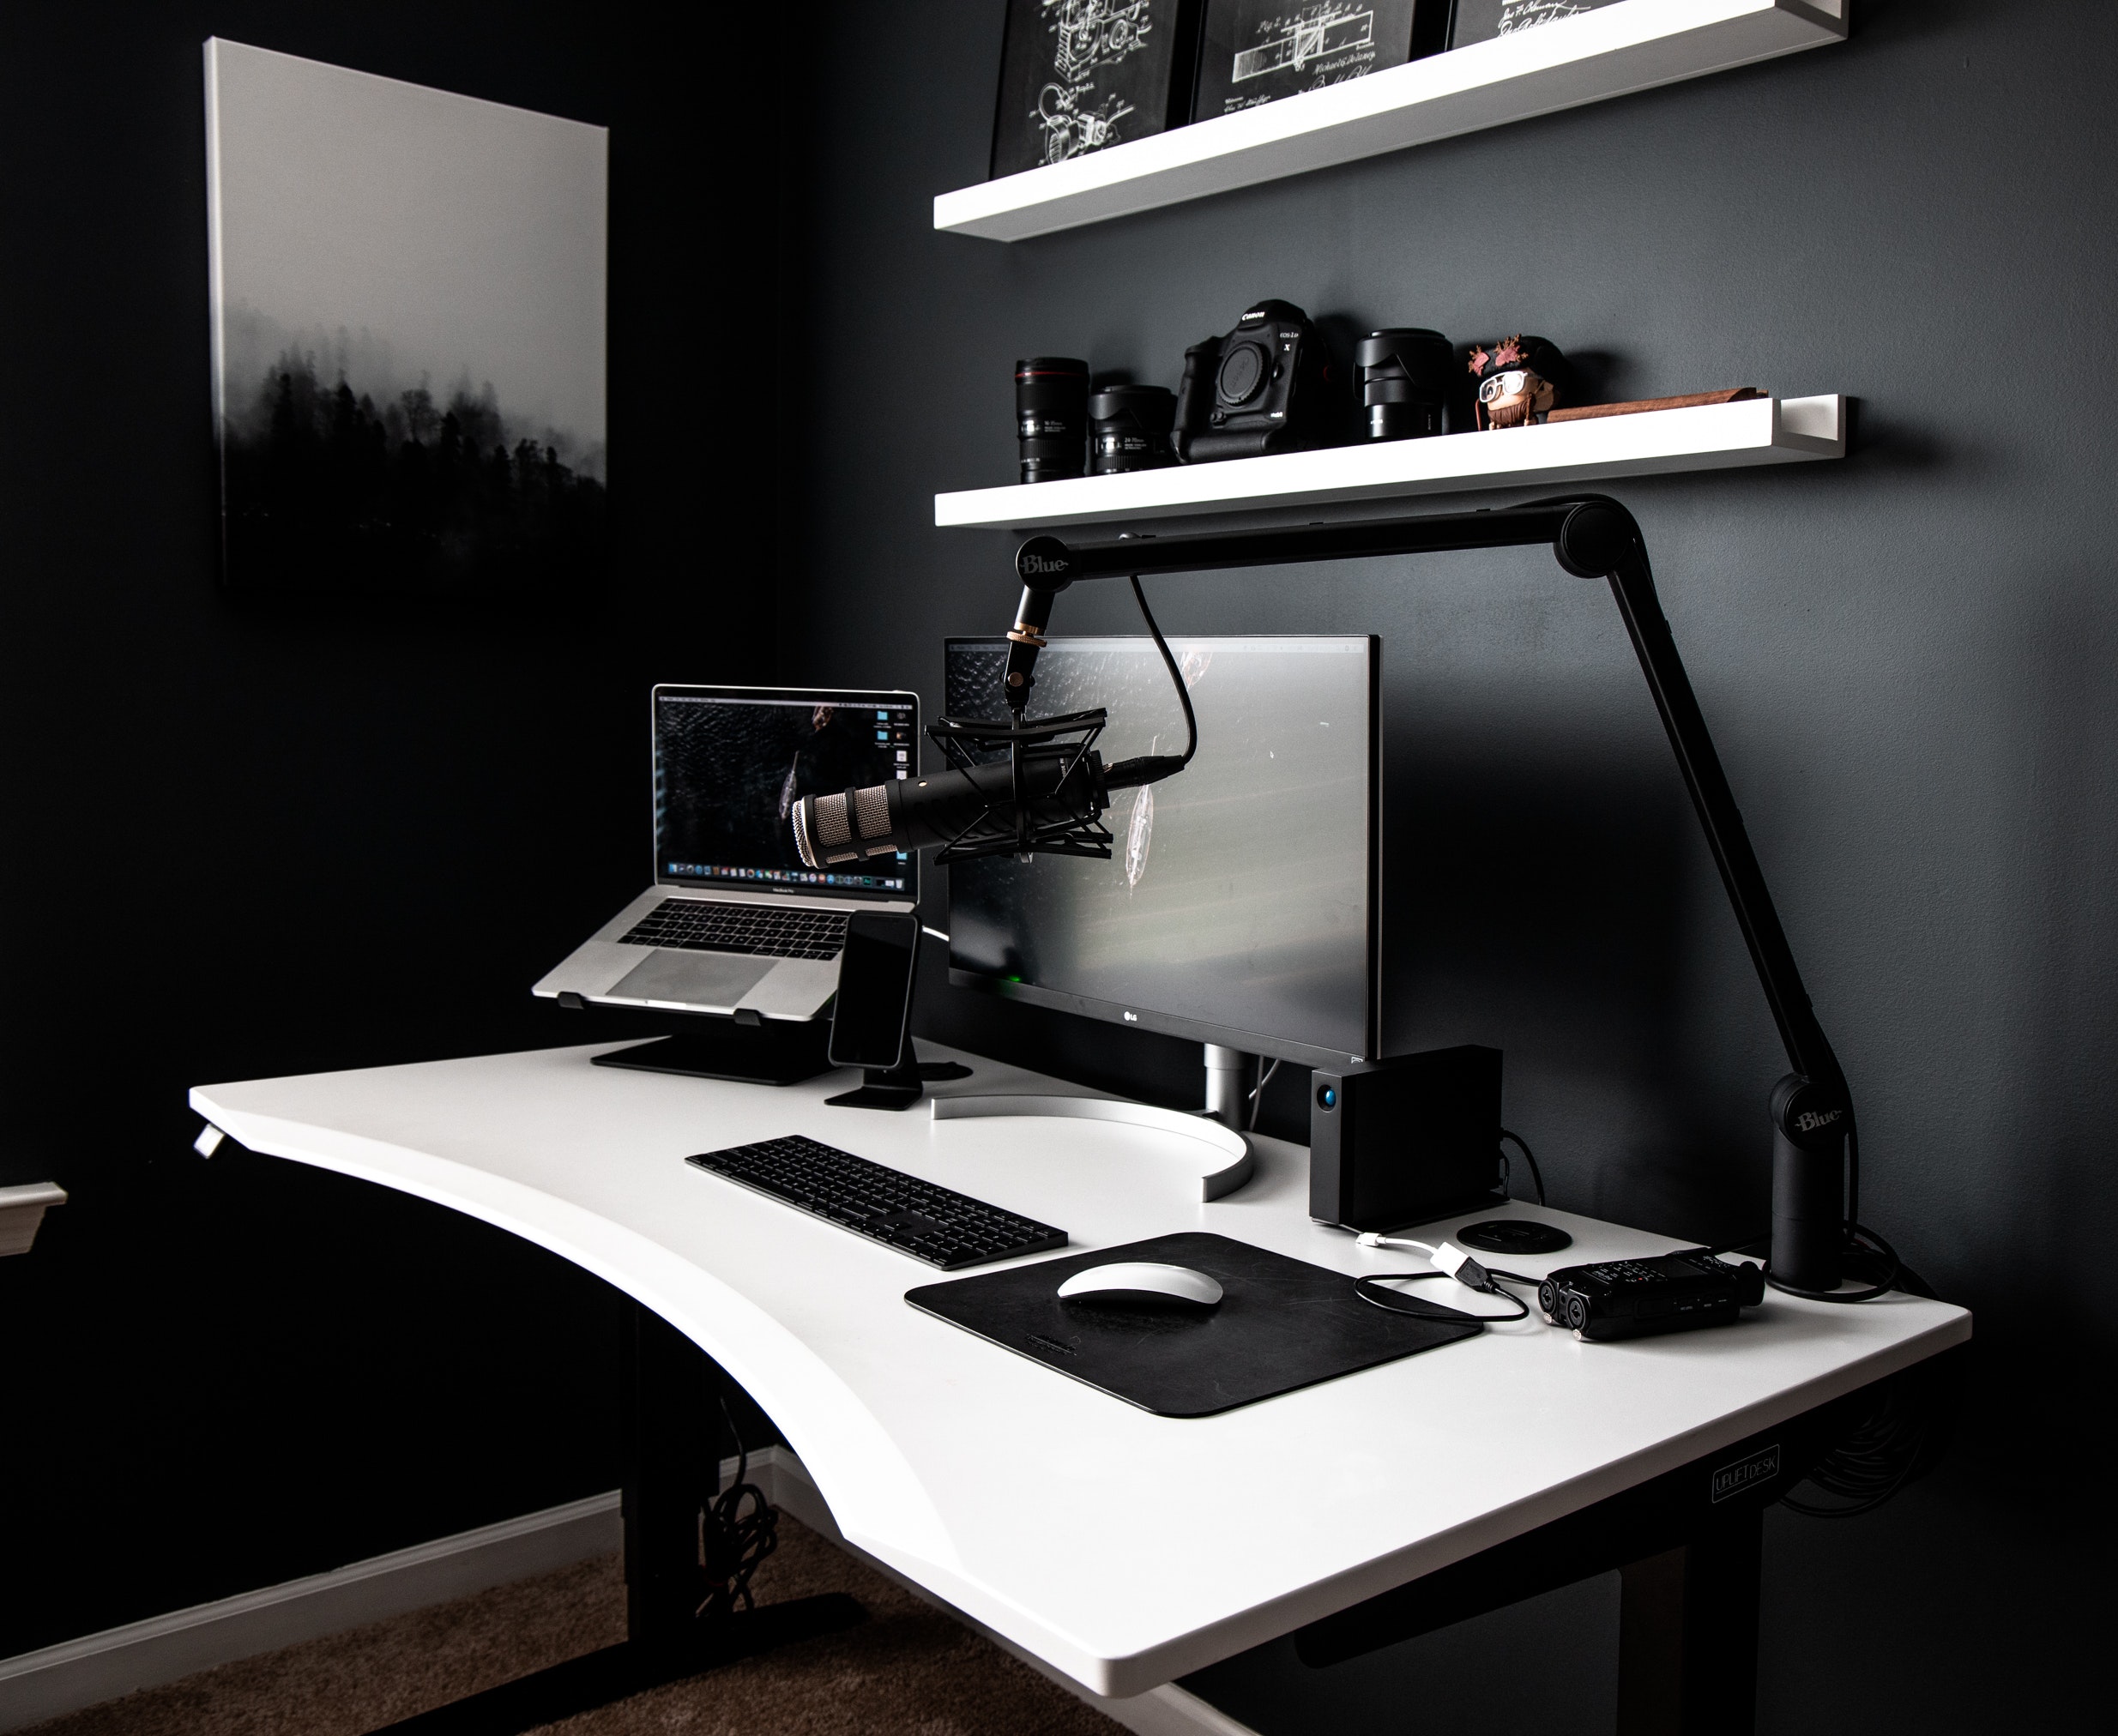
You can separate your recording space and your main computer space. That way, none of the sounds from your computer (like your fans) will bleed onto your podcast. Set up your recording space in, for example, a closet. Bring with you your mic, stand, headphones, and monitor of some sort. Many recording apps now will come with apps on your phone to control recording by wifi. Then when you’re done, exit the recording space and go back to your comfy desk setup.
Use your mic wisely
When you go to live music shows, you’ll notice how badly trained singers will kiss their mic. I’ve done it a lot in my own performances – mainly because it’s hard to hear yourself and/or it feels sexy. But it’s actually a really bad habit sound-wise, especially in recording. To tame yourself from this, and also to limit your plosives, use a pop filter. Place it in between you and the mic (most will come with attachments for mics and/or mic stands.
Also pay attention to the direction. Many people think it’s best to talk into a mic vertically. This is only partly true. You can gain a lot regarding your plosives, sibilants, and natural EQ by making it slightly off axis (no more than 45 degrees). Experiment some to find the right mic setup for you as every voice is different.
Set your gain only as high as you need it
Don’t record your podcast hot. Gain will lift the sound of everything that the mic is picking up. That includes not just your voice, but also bird sounds (get a bird sound remover here) and your refrigerator. That said, you also don’t want the gain too low. This requires a little bit of experimentation to find the right level for you.
Minimalize the input sound
Treating your room for podcasting isn’t just for controlling the reverb, but also for controlling outside sound (though there might not be much you can do for this. Use heavy curtains and close your windows, listen for the hum of the fridge, change rooms, and so on.
Warm up
Do some tongue twisters. Shout a bit, whisper a bit, get your tongue moving and relaxed. This will help with stutters and screw ups so that you’ll have to edit your podcast less later.
Use headphones
This is an absolute must, especially for podcasters. And also if you have guests. One thing that will cause serious echoes is monitoring your input through your main speakers. To avoid doing this, wear headphones. This also allows you to hear yourself and understand how loud you are, when you’re causing plosives, and so on. It seems like an obvious thing, yet in forums I come across the issue quite often.
Also take note that you don’t want your headphones too loud. It could bleed onto your recording as well, which would defeat the whole purpose of using headphones in the first place…
Breathe right
Learn to control your breathing. Nobody wants to hear your breaths. It sounds a bit creepy, or maybe like you need to have your lungs checked. Try to practice breathing light. If you have to take a deep breath, turn away from the mic.
Be sure to tune back in for our follow up next month on some tips you can do on the computer side, both pre- and post-processing to fine tune your podcast recording. Follow us on Instagram, Facebook, or Twitter to be sure you don’t miss it!


