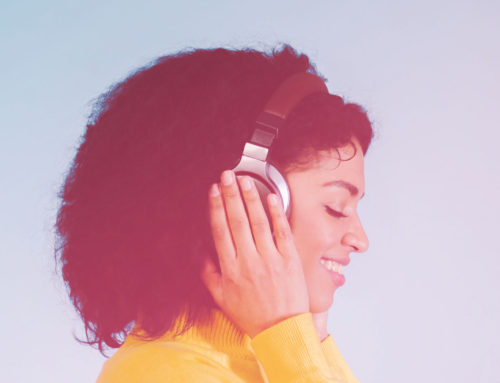
A YouTube banner is the intro to your channel. Make sure it shines in all the right ways with this easy guide.
A YouTube banner is the first thing that visitors to your channel will see. It’s perhaps the most prominent feature of your branding and needs to be perfectly on the mark. We’ve discussed branding before, and also setting up a YouTube channel. Now it’s time to take your knowledge and apply them in setting up your own YouTube banner.
Measurements for YouTube banners
YouTube banners need to be viewable on many media, from TVs and phones, to Macs and actual computers. Each medium reveals a slightly different size of your YouTube banner. Therefore, there are three dimensions you need to understand to create your YouTube banner art, so that it looks perfect on each screen.
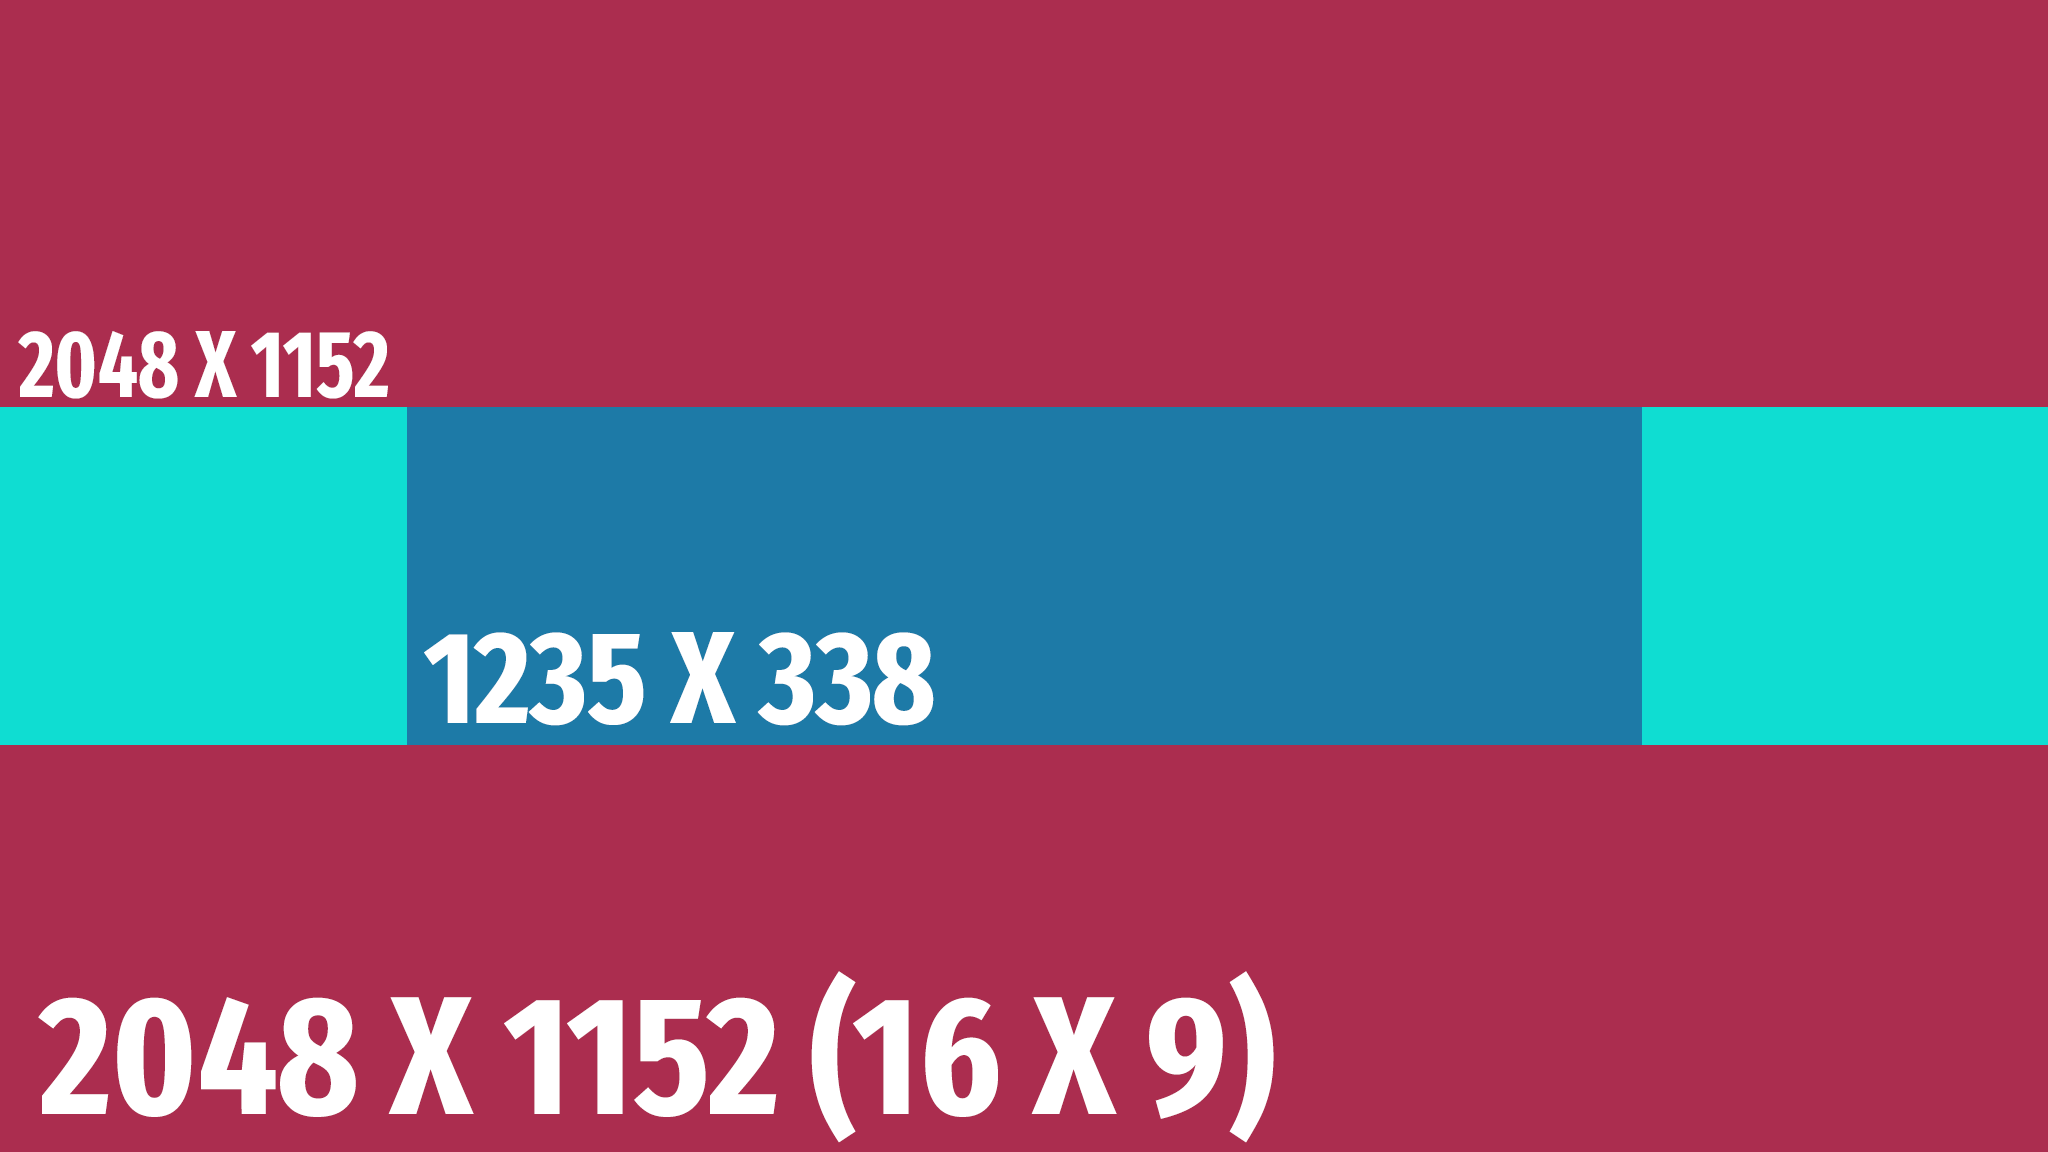
Using the picture above as a reference, you’ll see we’ve got basically three separate boxes. The main larger pink box, the long light blue rectangle, and the dark blue rectangle on top of the light blue one. Each measurement will be noted below, and the maximum size of the file, according to YouTube, should be 6 MB.
Main image
The main image is the central box, and this is all that will show up when using a mobile. Everything else will be cut off.
The dark blue box can be seen on every screen and it where the most important graphics need to fit. This includes the title of your channel and the focus of your picture. If you want these things to be off-center, then you need to work in this box rather than the larger pink box.
The main image should be 1235 x 338 px, following YouTube’s recommendations.
Maximum computer bleed
The light blue on either side of the main image shows the maximum viewable area for computers and tablets. Everything in the pink will be cut off.
Keep in mind that mobile users won’t be able to see this area, so you definitely don’t want any type there.
The maximum computer bleed would be 2048 x 1152 px, if following YouTube’s recommendations.
Maximum television bleed
The greater pink area shows you what will be visible on a television screen. This is why you don’t want just a simple, small rectangular pic, but one that can fill up the entire frame.
Creating your own YouTube banner
Now that you know the measurements, how do you go about making the banner? If you don’t have Photoshop, or if you’re simply not very good at art programs, don’t worry. There are a number of apps that are both free and easy to use. Many of them even have presets for YouTube banners, so that you don’t even have to worry about putting the measurements in manually.
Below are the most popular and easiest to use art apps to design your own YouTube banner.
HOT TIP: Right click and save on my guide. You can then place that on any of the editors that aren’t so clear cut. Set a transparency and look through it to see if everything falls into the right margins.
Canva

Canva is perhaps the first free app geared to making social media graphics easily. It comes in two levels: a free version and a professional version. The pro version allows for team workflow, access to even more templates, background remover, content planner, and more animations, as well as downloading your graphics in .svg format.
The free functionality is quite expansive, and the YouTube channel templates are even broken down by type of channel, like “music”, “beauty”, “travel”, and so on, to get your creativity flowing. You really only need the free version to make your banner.
Professional version: $12.99/month, which includes licenses for 5 people
Adobe Spark

Adobe Spark doesn’t have any preset templates specifically for the YouTube banner. They do have a lot of templates for various other social media, and even for YouTube thumbnails. You’ll have to do the sizes manually. But that’s easy. Just find a template that you like, and on the right-hand side, there’s a “resize” option and just scroll down to the 16 x 9.
The professional option unlocks scores more templates, removes a pesky Adobe watermark, and has some great options for developing your brand. Instead of doing a straight Spark subscription though, consider subscribing to the Creative Cloud Photography Plan instead. It’s the same price and also includes Photoshop and Lightroom.
Creative Cloud Photography: $9.99/month
Adobe Spark for teams: $19.99/month
Crello

Crello also doesn’t come with any real preset templates. They do have an option that will set the size for you. Just click “New Design” and then the “YouTube Channel Art” option. There will be a slew of templates that appear, but very few of them seem to be made for the explicit purpose of being a YouTube banner. When you choose one, make sure that it’s something with the text that’s somewhat centered. From there, you’ll have to eyeball where the text goes.
The professional version of Crello allows you to remove backgrounds, download unlimited designs, add styles and brand content, and invite team members to work with you.
Professional: $9.99/month
Snappa

Snappa is probably the most convenient option available. You can start off with the correct sizes from their YouTube Banner maker. Then select a template that speaks to you. Now, what is really cool about Snappa, as you see, they already have the guides marked for you, so that you don’t have to use the one that I made. What’s great is that even the free version gives you a huge selection of templates and pics to work from, though you only get three downloads a month.
The paid version gives you an unlimited amount of downloads, plus it integrates to Buffer, so if you use that for your social media planning, then that’s perfect, and it allows you to remove backgrounds from pictures. Finally, they have a team edition as well, which allows all that plus 5 users.
Pro: $10.00/month
Team: $20.00/month
Colorcinch

Colorcinch is a relatively new entrant in the photo editing game. Starting as Cartoonize, they started out as a Facebook app that made it easy to make a cartoon out of your avatar. They are now a full software-based photo editing app that is packed with a bunch of cool, easy-to-use features like the cartoon/painting effect they’re famous for, along with different overlays. You can also add text, crop your project to the correct size, composite pictures, straighten the horizon, and a great deal more that you can find on more advanced apps but in a much easier to use manner.
There’s a free demo version you can use with one effect, and then they have an annual and monthly plan that unlocks all the additional features. I’d lock in my subscription now as I don’t really expect these prices to stay this low.
Monthly: $5.99/month
Annual: $3.99/month
Final thoughts
Whatever you end up using, just remember to keep in mind those measurements and keep the text somewhat centered. Also remember to make everything match in regard to branding. Your banner should be the same tones as your thumbnails and so on. And have fun with it. Happy creating!